dvis3yzawwgr9p4du4g7rcqsie1vi7
Skip to content
Aviation Ideas and Discussion!
Visit SAFE Website
Search Here
Focus on the “Human Element” (Non-AI)
Hypotheticals: The Importance of “What Ifs”
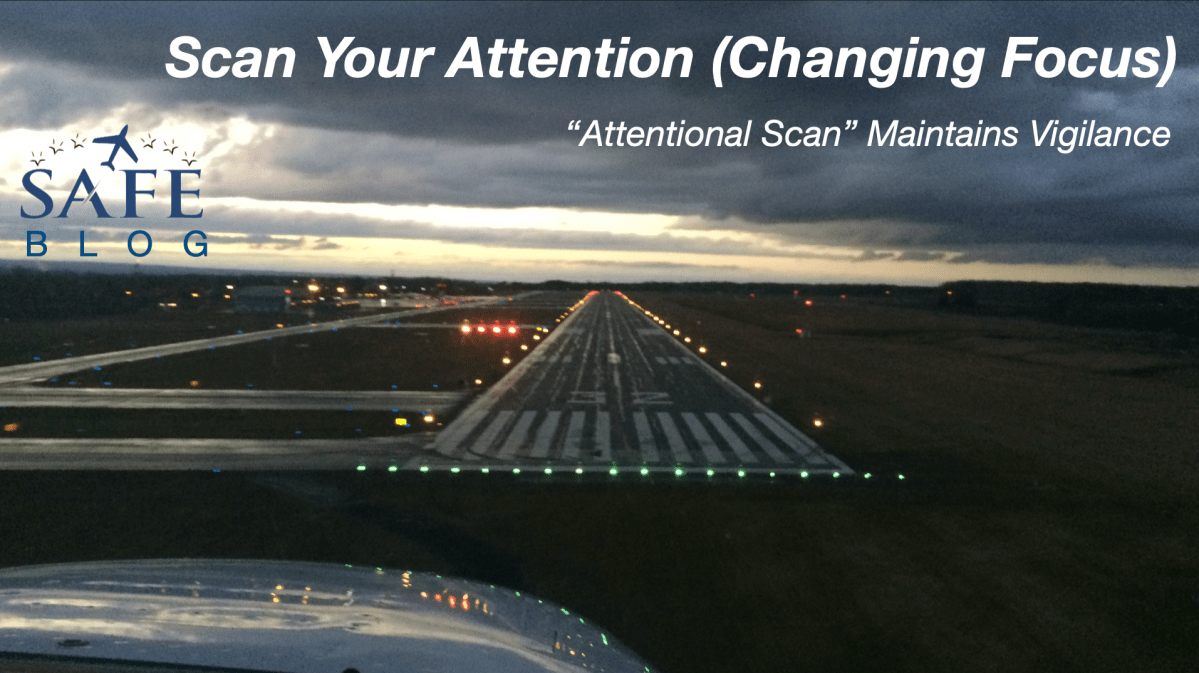
Scan Your Attention (Changing Focus)
Maintaining Motivation with “Small Wins”
Essential “Mental Toughness” For Aviation Success
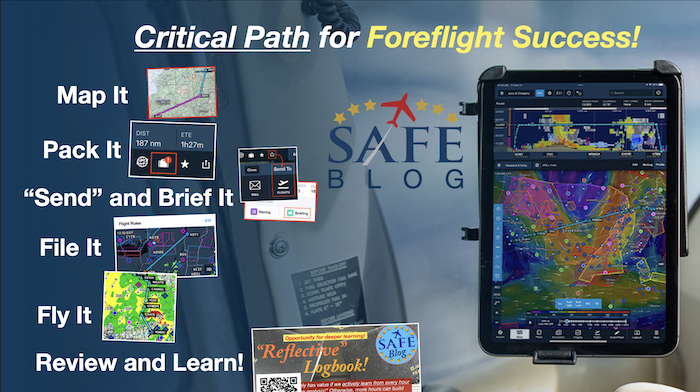
Critical Path for Foreflight Success!
Magic Words For ATC
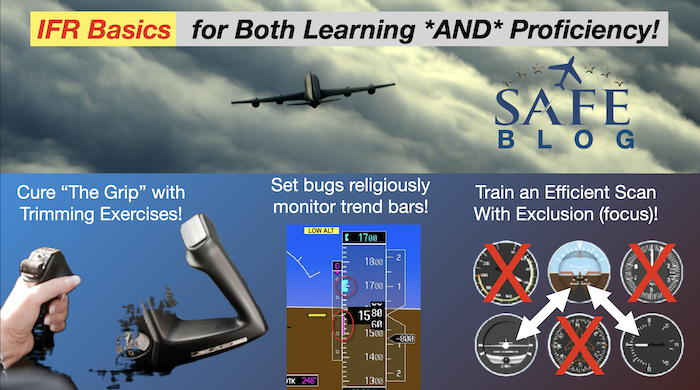
IFR Basics for Both Learning *AND* Proficiency!
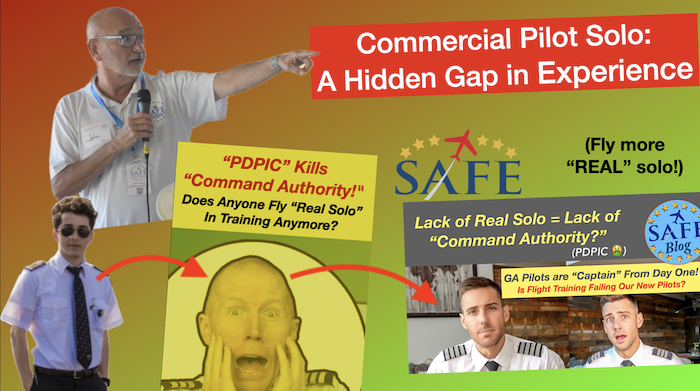
Commercial Pilot Solo: A Hidden Gap in Experience
FAA “Legal Name Match” and TSA Rules for CFIs
←
Previous Page
Next Page
→
Loading Comments...
Write a Comment...
Email (Required)
Name (Required)
Website